
In Part 1 we created a sensor in Workspace ONE UEM to collect information about our Windows 10 machines. In the example, the sensor is collecting the type of chassis the device is housed in. But data collected isn’t very useful unless we use it for something. This is where Workspace ONE Automation comes in and shines.
Workspace ONE Intelligence can be accessed either by going to Monitor –> Intelligence –> Launch or by clicking on the square grid in the top right of the console.


Automation is a paid-for feature in Workspace ONE Intelligence so if you don’t see it at first check that you have activated your 30-day trial by opt-in.
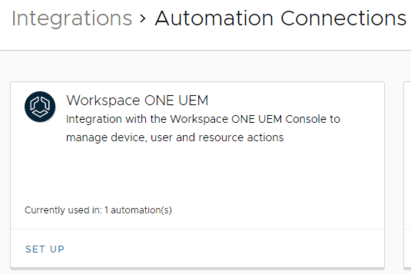
The first things we need to do connect to the UEM so that Intelligence can pull the data we collected in Part 1 from our sensor. This is done by going to Settings –> Integrations –> Automation Connections and clicking Set-Up on the Workspace ONE UEM option.
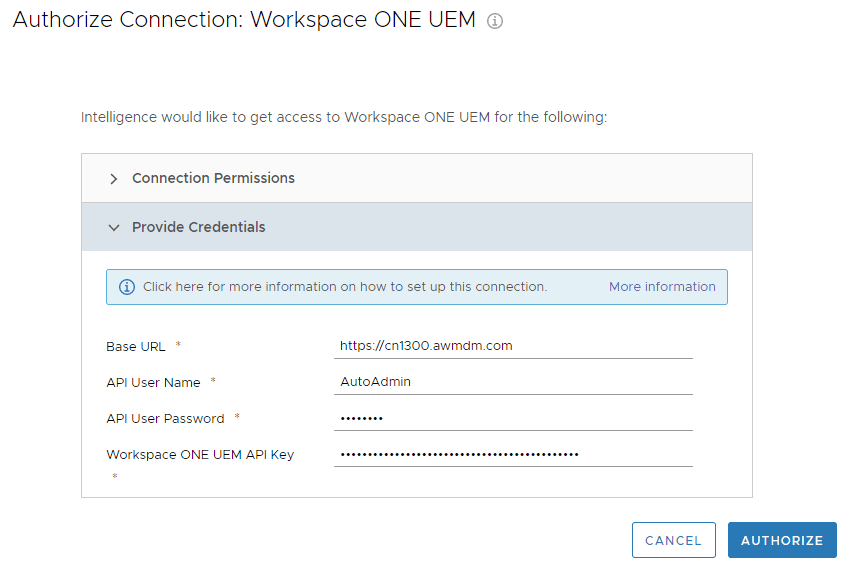
In here we need to provide credentials which will mean having the URL for your environment, an account that is authorised to access APIs and an API key. I don’t really want to get into this here as it takes us off a whole new direction. However, if you need some guidance I recommend following the steps in the Getting Started with Automations and Generate an API Key for Communication in Workspace ONE UEM articles on VMware Docs.
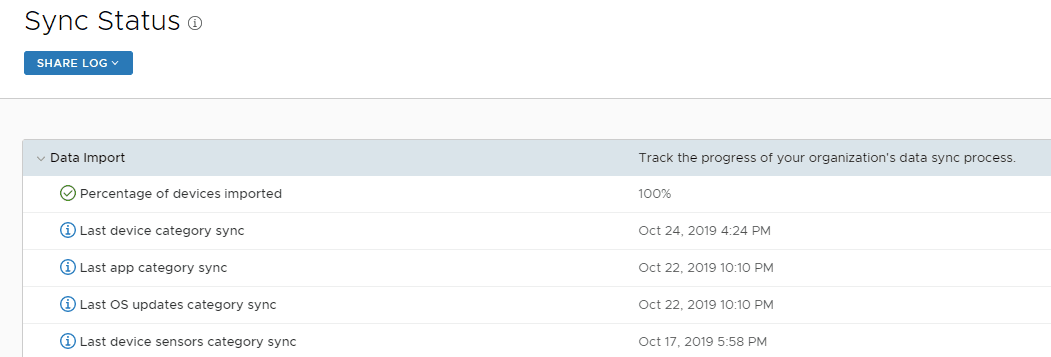
This may be time to take a moment and get a cup of tea or coffee. Why? Because it can take a few minutes for the sync to occur – before we proceed we need to make sure the sync of our sensor has completed or there won’t be a property to use in our automation. This can be checked by going to Reporting –> Sync Status.
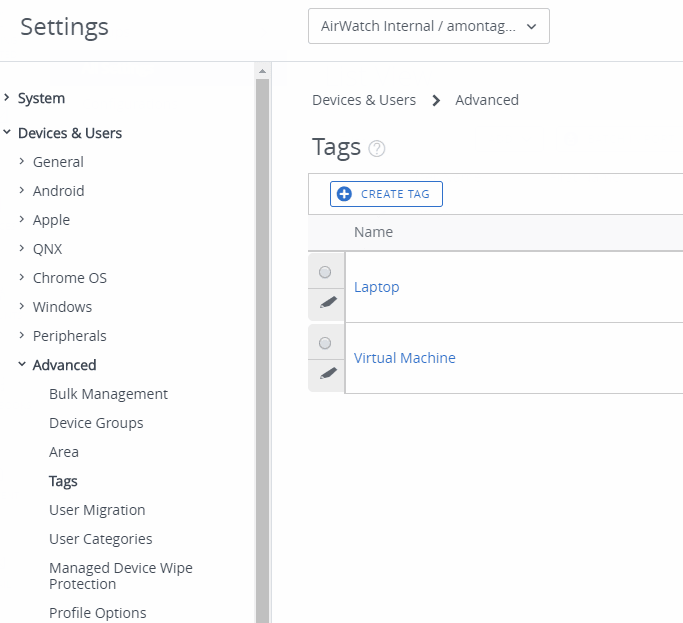
Also while I was waiting for the sync to happen I needed to set up some tags in the UEM console. This isn’t part of all Automations but what I wanted to do was detect the chassis type of my computer and then tag it in the UEM console and of course, this means having some tags. For this to work I went into the UEM console, created my tags and noted down their number. Tags are in Devices & User –> Advanced –> Tags and can be set up with desired text. I’ve only set up a couple of tags here at the moment, one for a laptop and one for a Virtual Machine, but depending on how I wanted to use my chassis data it would be possible to customise this as much or as little as needed. The last step here is not super intuitive but if you hover over the text of the tag at the bottom of the screen you will see a URL that displays the Tag ID (see the image below). We will need this later for our automation so note them down.

Once your sensors are synced you can go in the menu to Automations and click Add Automation and select Workspace ONE UEM –> Device Sensors

With the automation options, there are some already pre-built for you and I would encourage everybody to look through these to get an idea of what can be achieved using Automation. In sensors however it’s up to us to create one from scratch. So click Get Started and let’s get things automating.
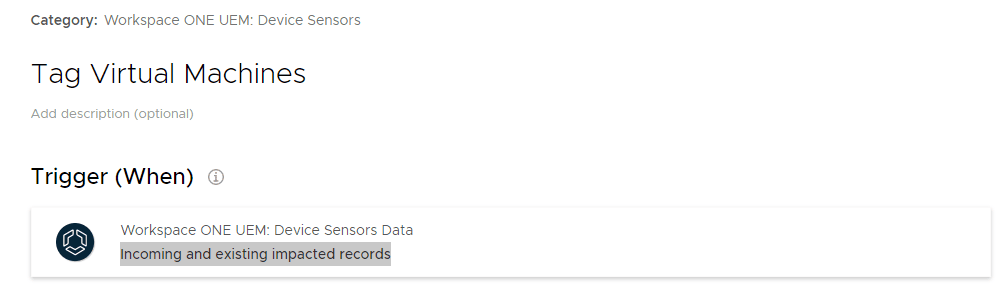
Add a Name and Description (optional) before looking at when the automation will Trigger (When). In this case, we only have one pre-selected option which is when data is incoming and existing impacted records.
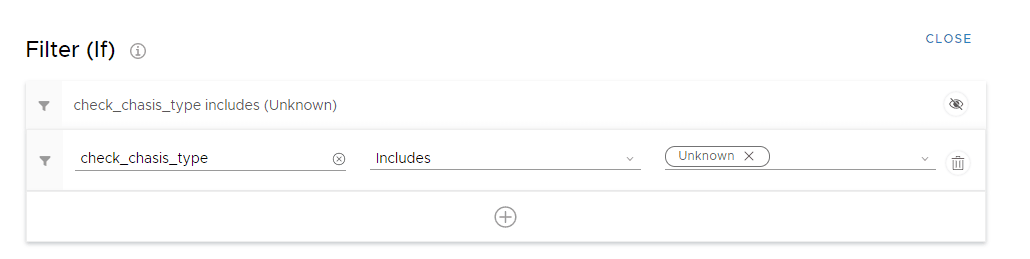
The key items are next, firstly we have Filter (if) which allows us to define the sensor we are checking and what condition we are checking for. In my example, we are looking for my check_chassis_type and to include the value ‘Unknown’. This will give me all devices with an undefined chassis type which is necessary because in this test the Windows 10 machine I have enrolled is actually a VM in VMware Workstation Pro and so doesn’t have a chassis at all!
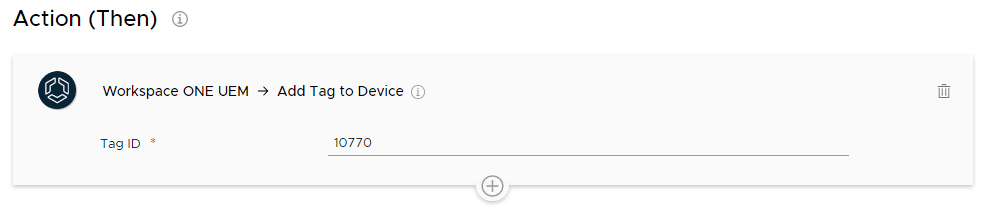
Then I need to determine the action to take once I’ve identified a device that meets my criteria. In the Action (Then) section allows you to select your Available Connections, which in this instance is Workspace ONE UEM. This will give you a list of actions the connector can perform, again it’s good to look through these for some inspiration! I’m selecting Add Tag to Device and inputting the Tag ID I noted down earlier.
A quick toggle to enable the automation and save it and we’re done!
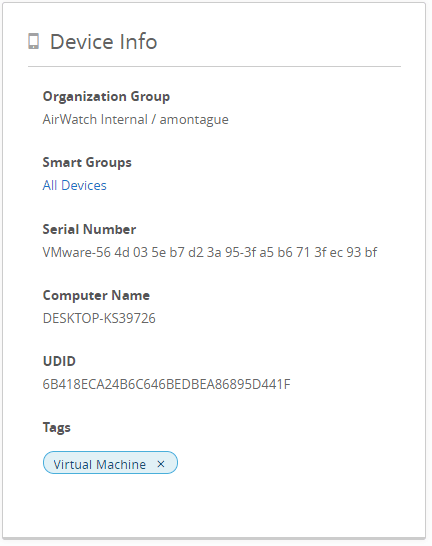
Now that this is all done I can return to my UEM console and see that my device has been tagged with ‘Virtual Machine’ showing what sort of chassis (or in this case non-chassis) it is housed in.
From this information, I can create Smart Groups to assign profiles and applications to specific types of devices. My laptops are mobile and so will need a VPN profile and application, my desktops are not but do require other applications instead. I have stricter security policies for my laptops because unlike my desktops they are not protected at all times by my corporate firewalls. Adding this automation allows new machines to automatically added to the correct Smart Groups and to be consistently secured without an admin having to perform manual checks.
Of course, this is just scratching the surface of what sensors can do in combination with automation but I’m hoping I’ve inspired you to try something new and see what powerful time saving, security-enhancing and consistency improving automation you can create!

Technical Consultant at Comms-Care (an Ingram Micro company).
Previously Escalations Manager for the EMEA Professional Services Remote Delivery Team at VMware
Maxime
June 4, 2021Hi,
It seems that “Getting Started with Automations” link is broken as well as “Generate an API Key for Communication in Workspace ONE UEM” link.
New links seems to be:
https://docs.vmware.com/en/VMware-Workspace-ONE/services/intelligence-documentation/GUID-21_intel_automations.html#getting-started-with-automations-6 and https://docs.vmware.com/en/VMware-Workspace-ONE/services/intelligence-documentation/GUID-21_intel_automations.html#basic-authentication-procedure-9
Best regards,
Adam Matthews
December 8, 2021Thanks Maxime! Thats been updated.