
Welcome to a brief guide on how to use the Okta topology tool.
What is it?
The Okta topology tool was designed and created as a quick white-boarding tool, that can show all of the Okta functionality visually with the ability of drawing arrows between each components to best outline a customer’s requirements.
How to use it.

On arrival at the site, you’ll notice ‘Okta’ in the centre of the canvas and ‘End-users’ connected to ‘Okta’. To add more components, simply click on the ‘Resources’ menu item in the top left.
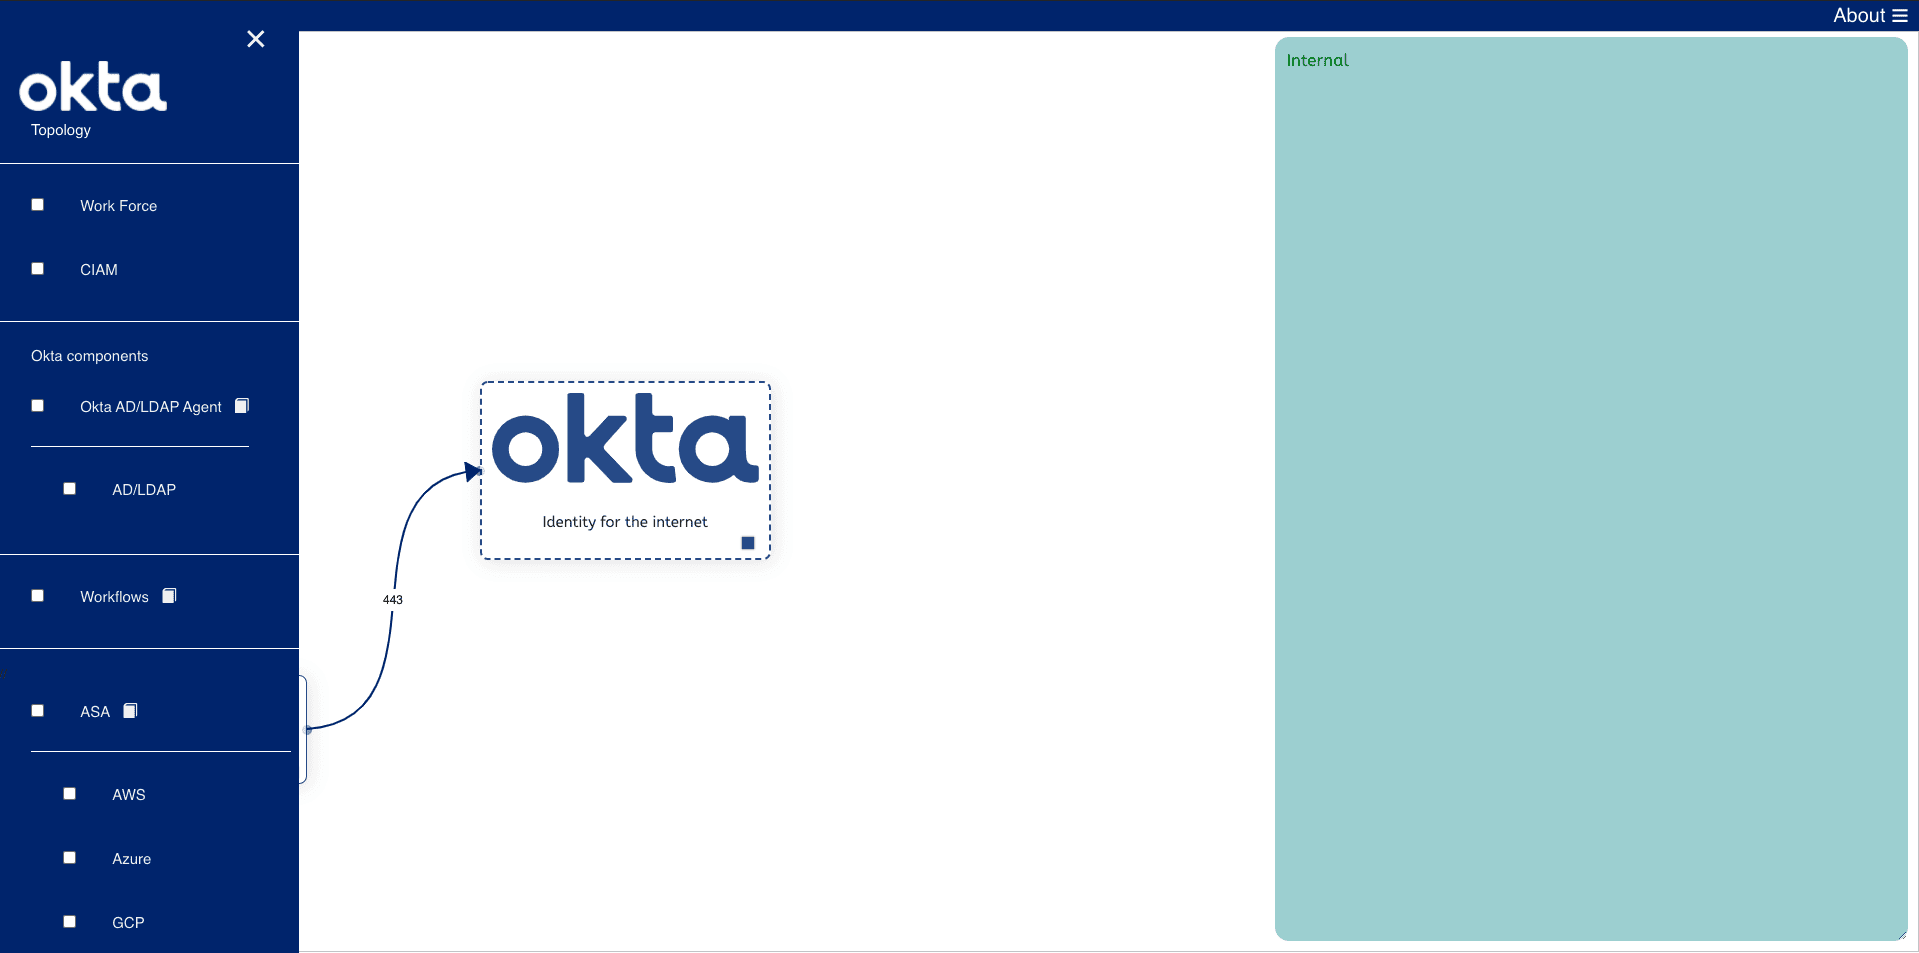
This will bring out a side bar with a number of different check boxes. If you wish to quickly add all of the ‘Workforce’ or ‘CIAM’ components, go ahead and click on the options.
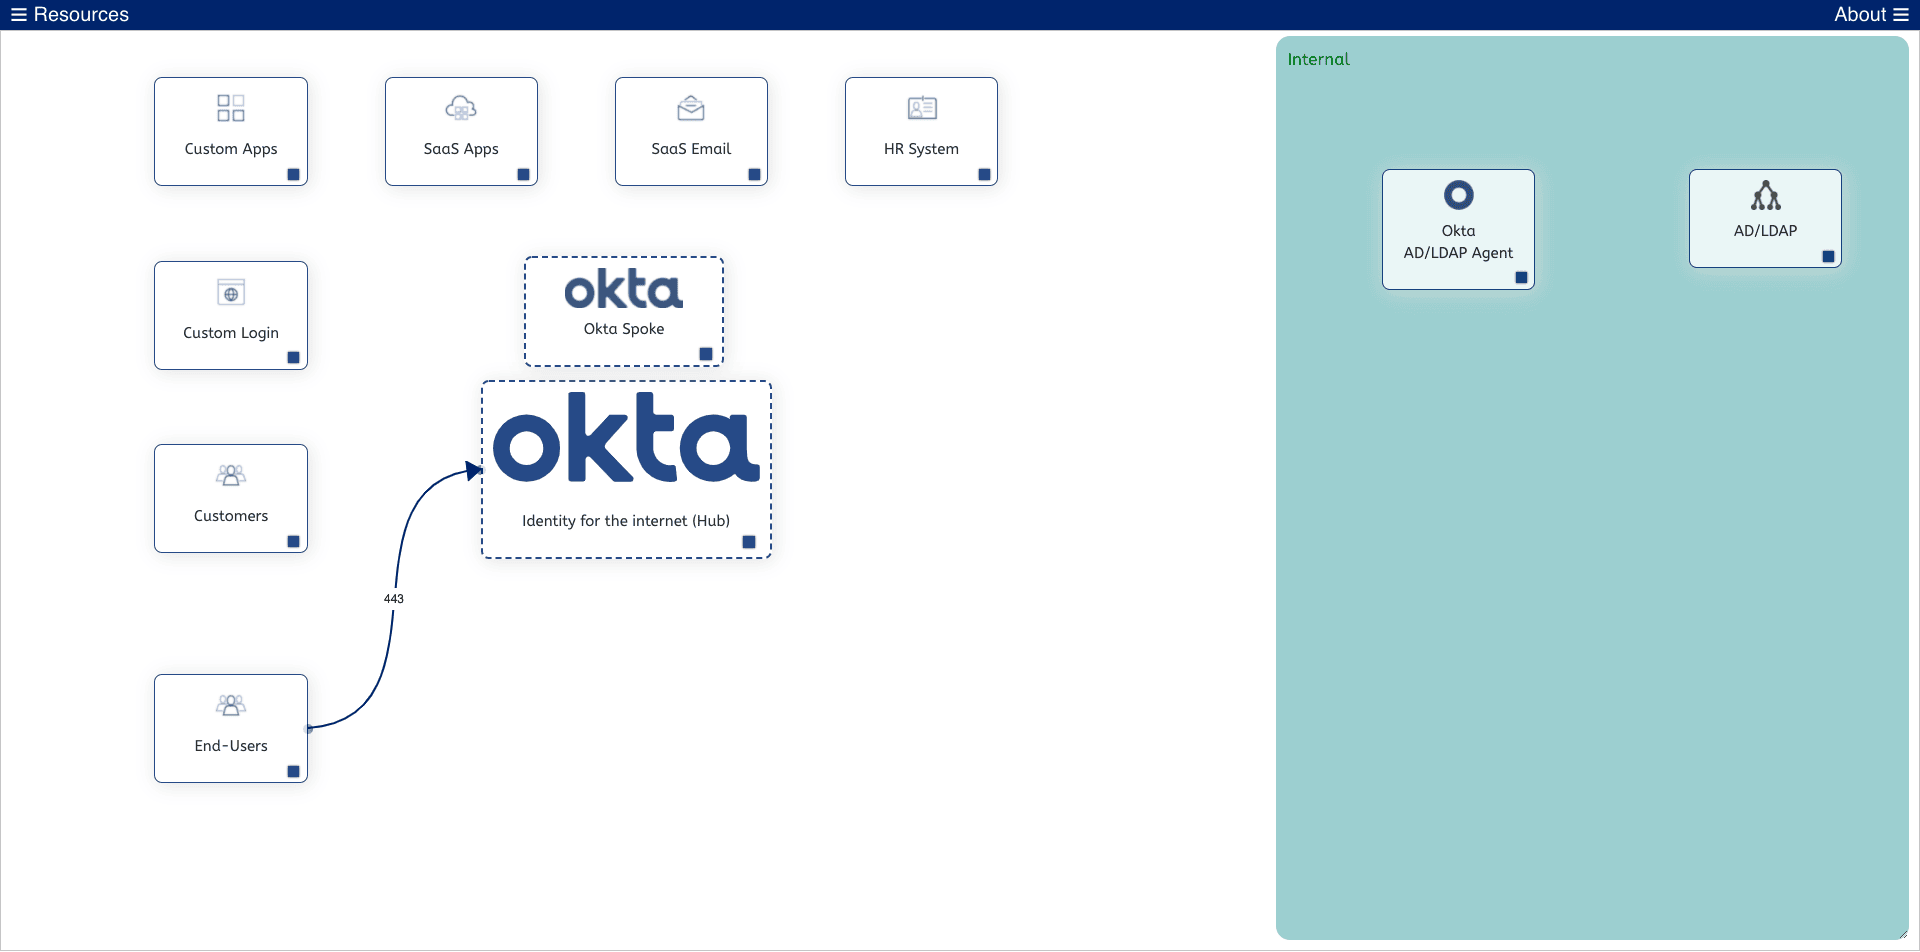
This will add a number of components typical of that use case.
To connect the components together, click on the bottom right small blue box in any of the new components and drag the arrow to the desired location.
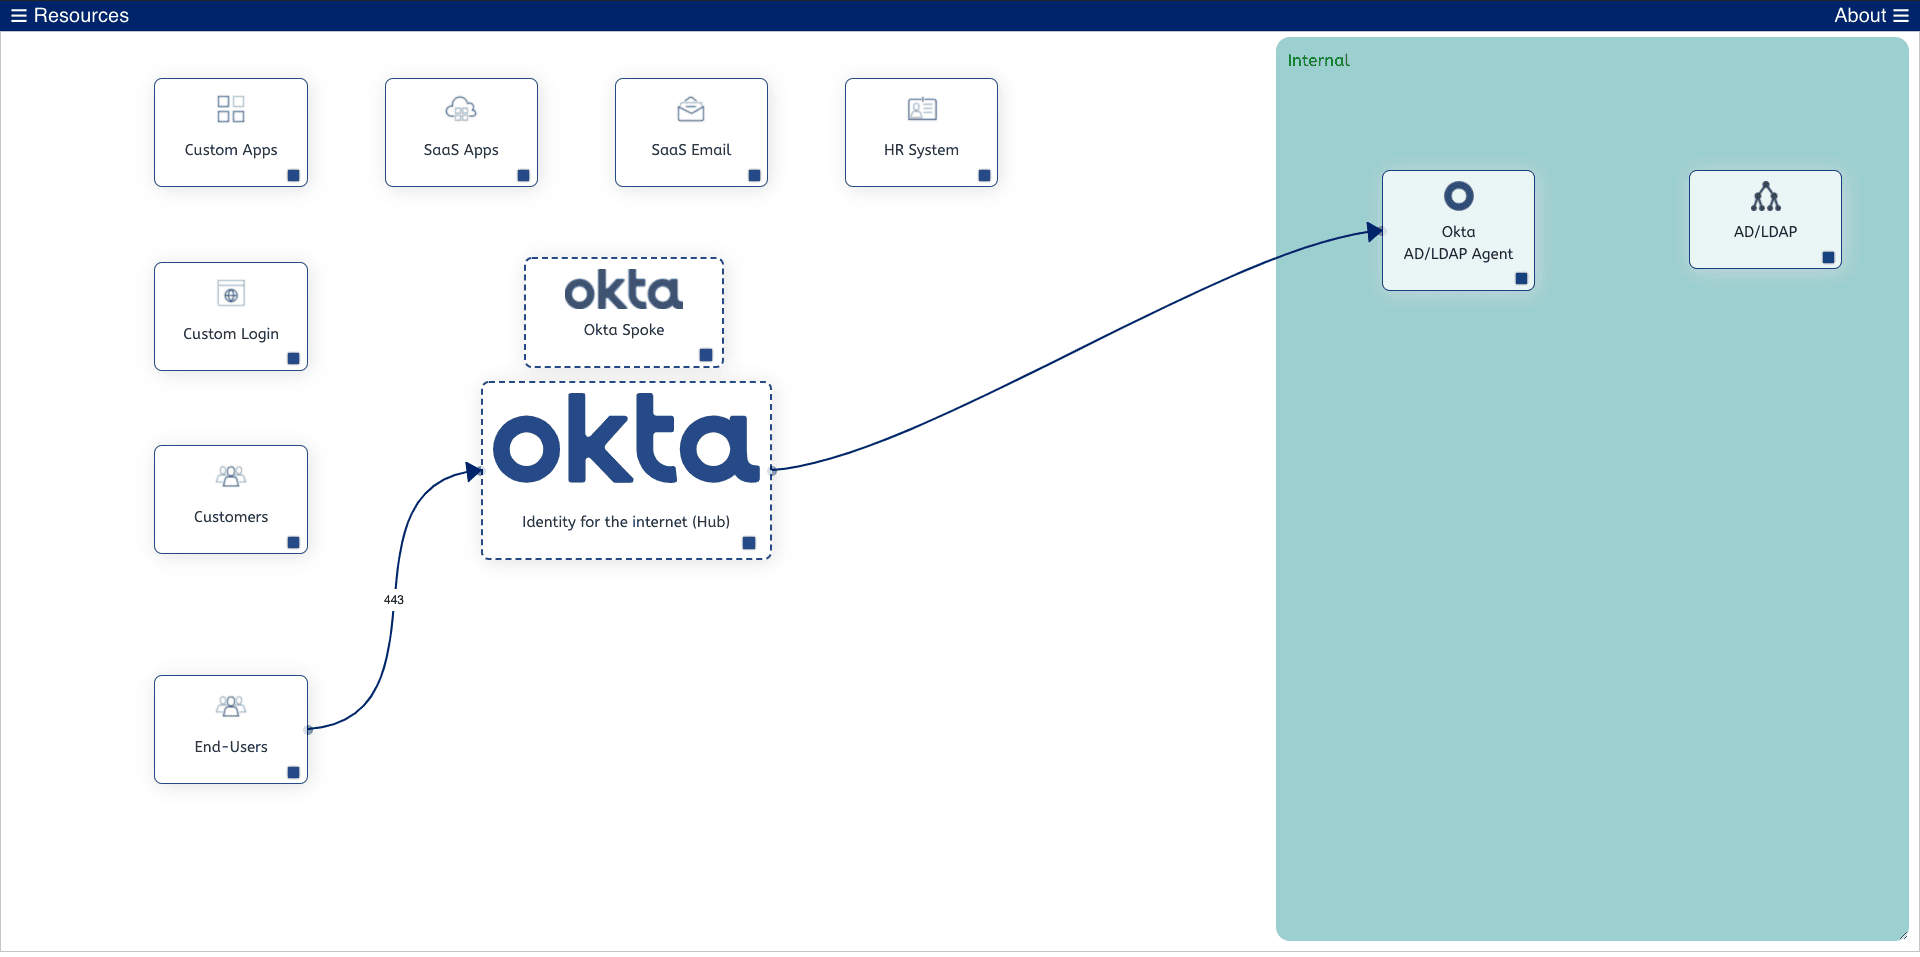
This will create a new connection to the desired component that is now anchored. Meaning you can drag the components around and the arrow will stay connected. This will work on any component you add from the left hand Resources menu.
To remove a connection, just click on the connected arrow and the connection will be removed.
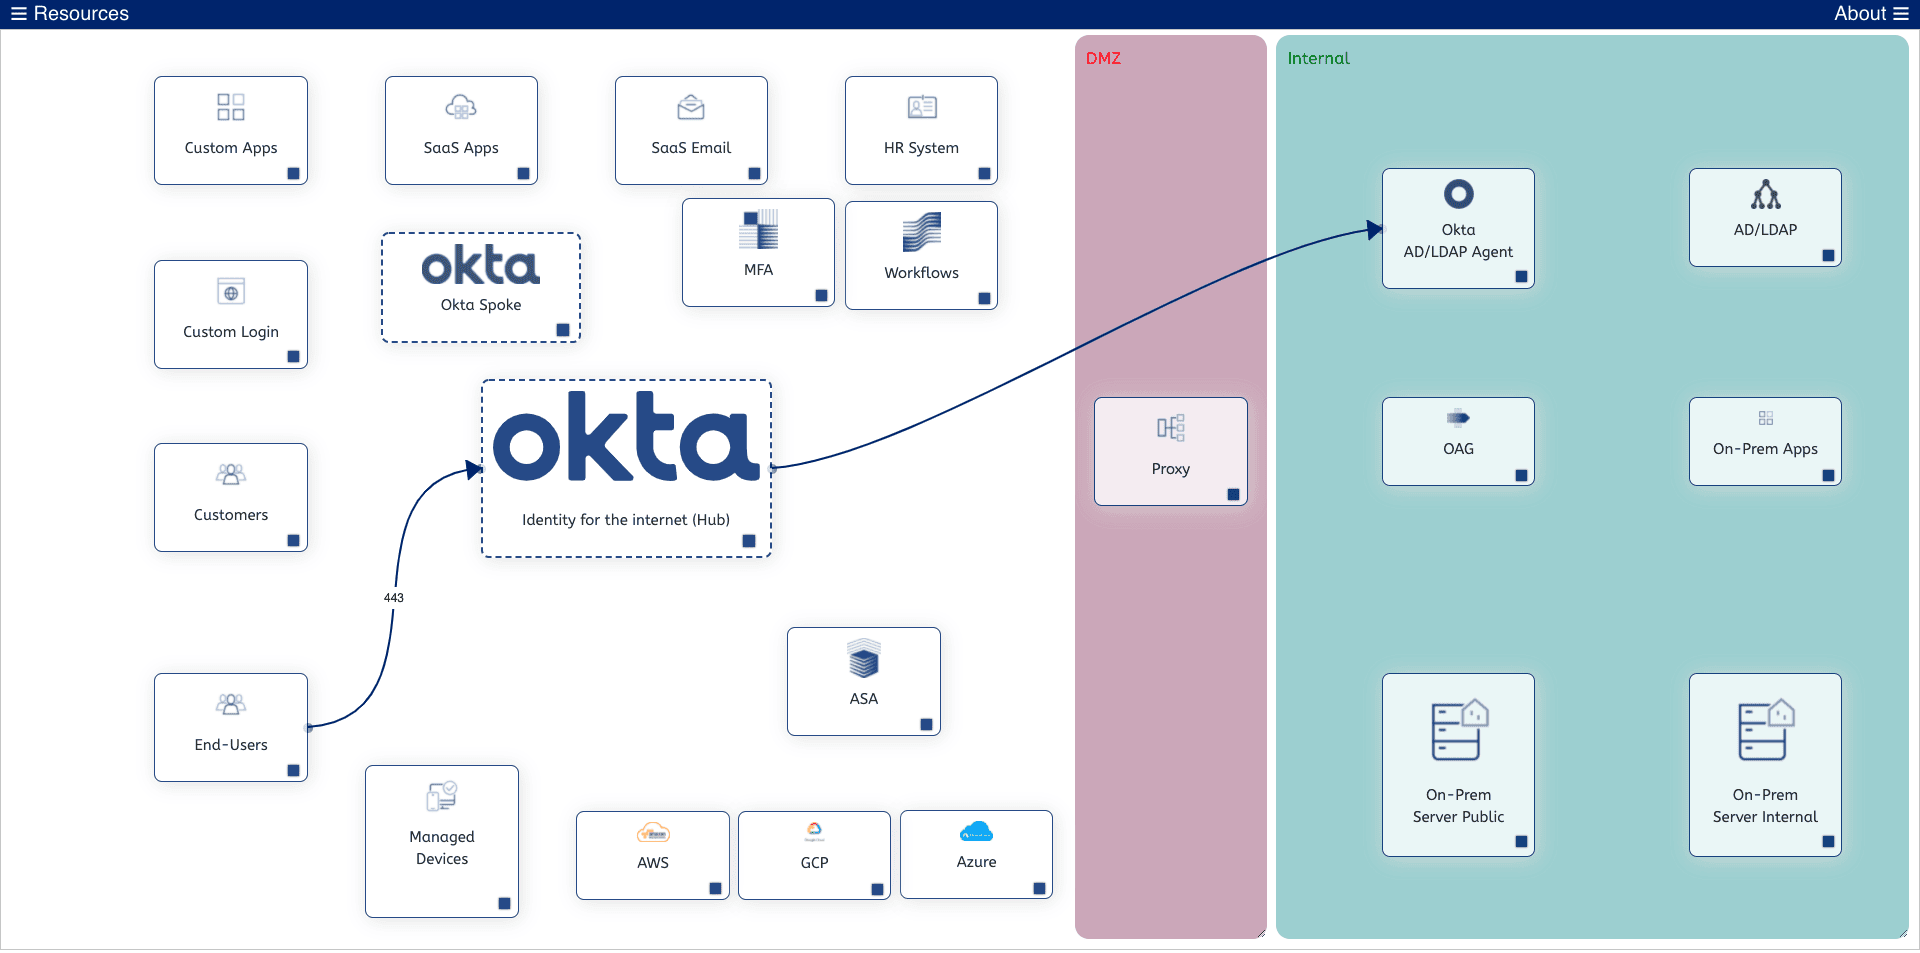
Adding everything from the resources menu will give you something like this, everything can be dragged to a desired location and anything can be connected to anything else:
The tool is constantly evolving with new additions and changes so if there’s anything that could make it more useful please let me know!

Sales Engineer specialising in Unified Endpoint Management (UEM) and Identity Management.
Technical Expertise:
o Okta – Identity Management – Providing single sign on services to applications
o VMware Workspace ONE – Configuring and managing AirWatch components across all device types.
o Digital Transformation – Helping organisations implement and deploy a modern strategy for UEM
o Networking – VPN, DNS, DHCP
o Device Management – macOS, iOS, Android, Windows and Rugged Devices
o Cloud Solutions – Azure, Office 365, Identity Providers, VMware AirWatch
o Server – Windows Server, Active Directory, Exchange